Grouping Examples
By default, each preview example will be listed in the navigation and will be rendered on its own in the inspector.
However for previews of small components that may have many examples (e.g. an icon component with an example per available icon) it often makes more sense to group some or all of those examples so that they are all rendered together in a single preview.
When to use groups
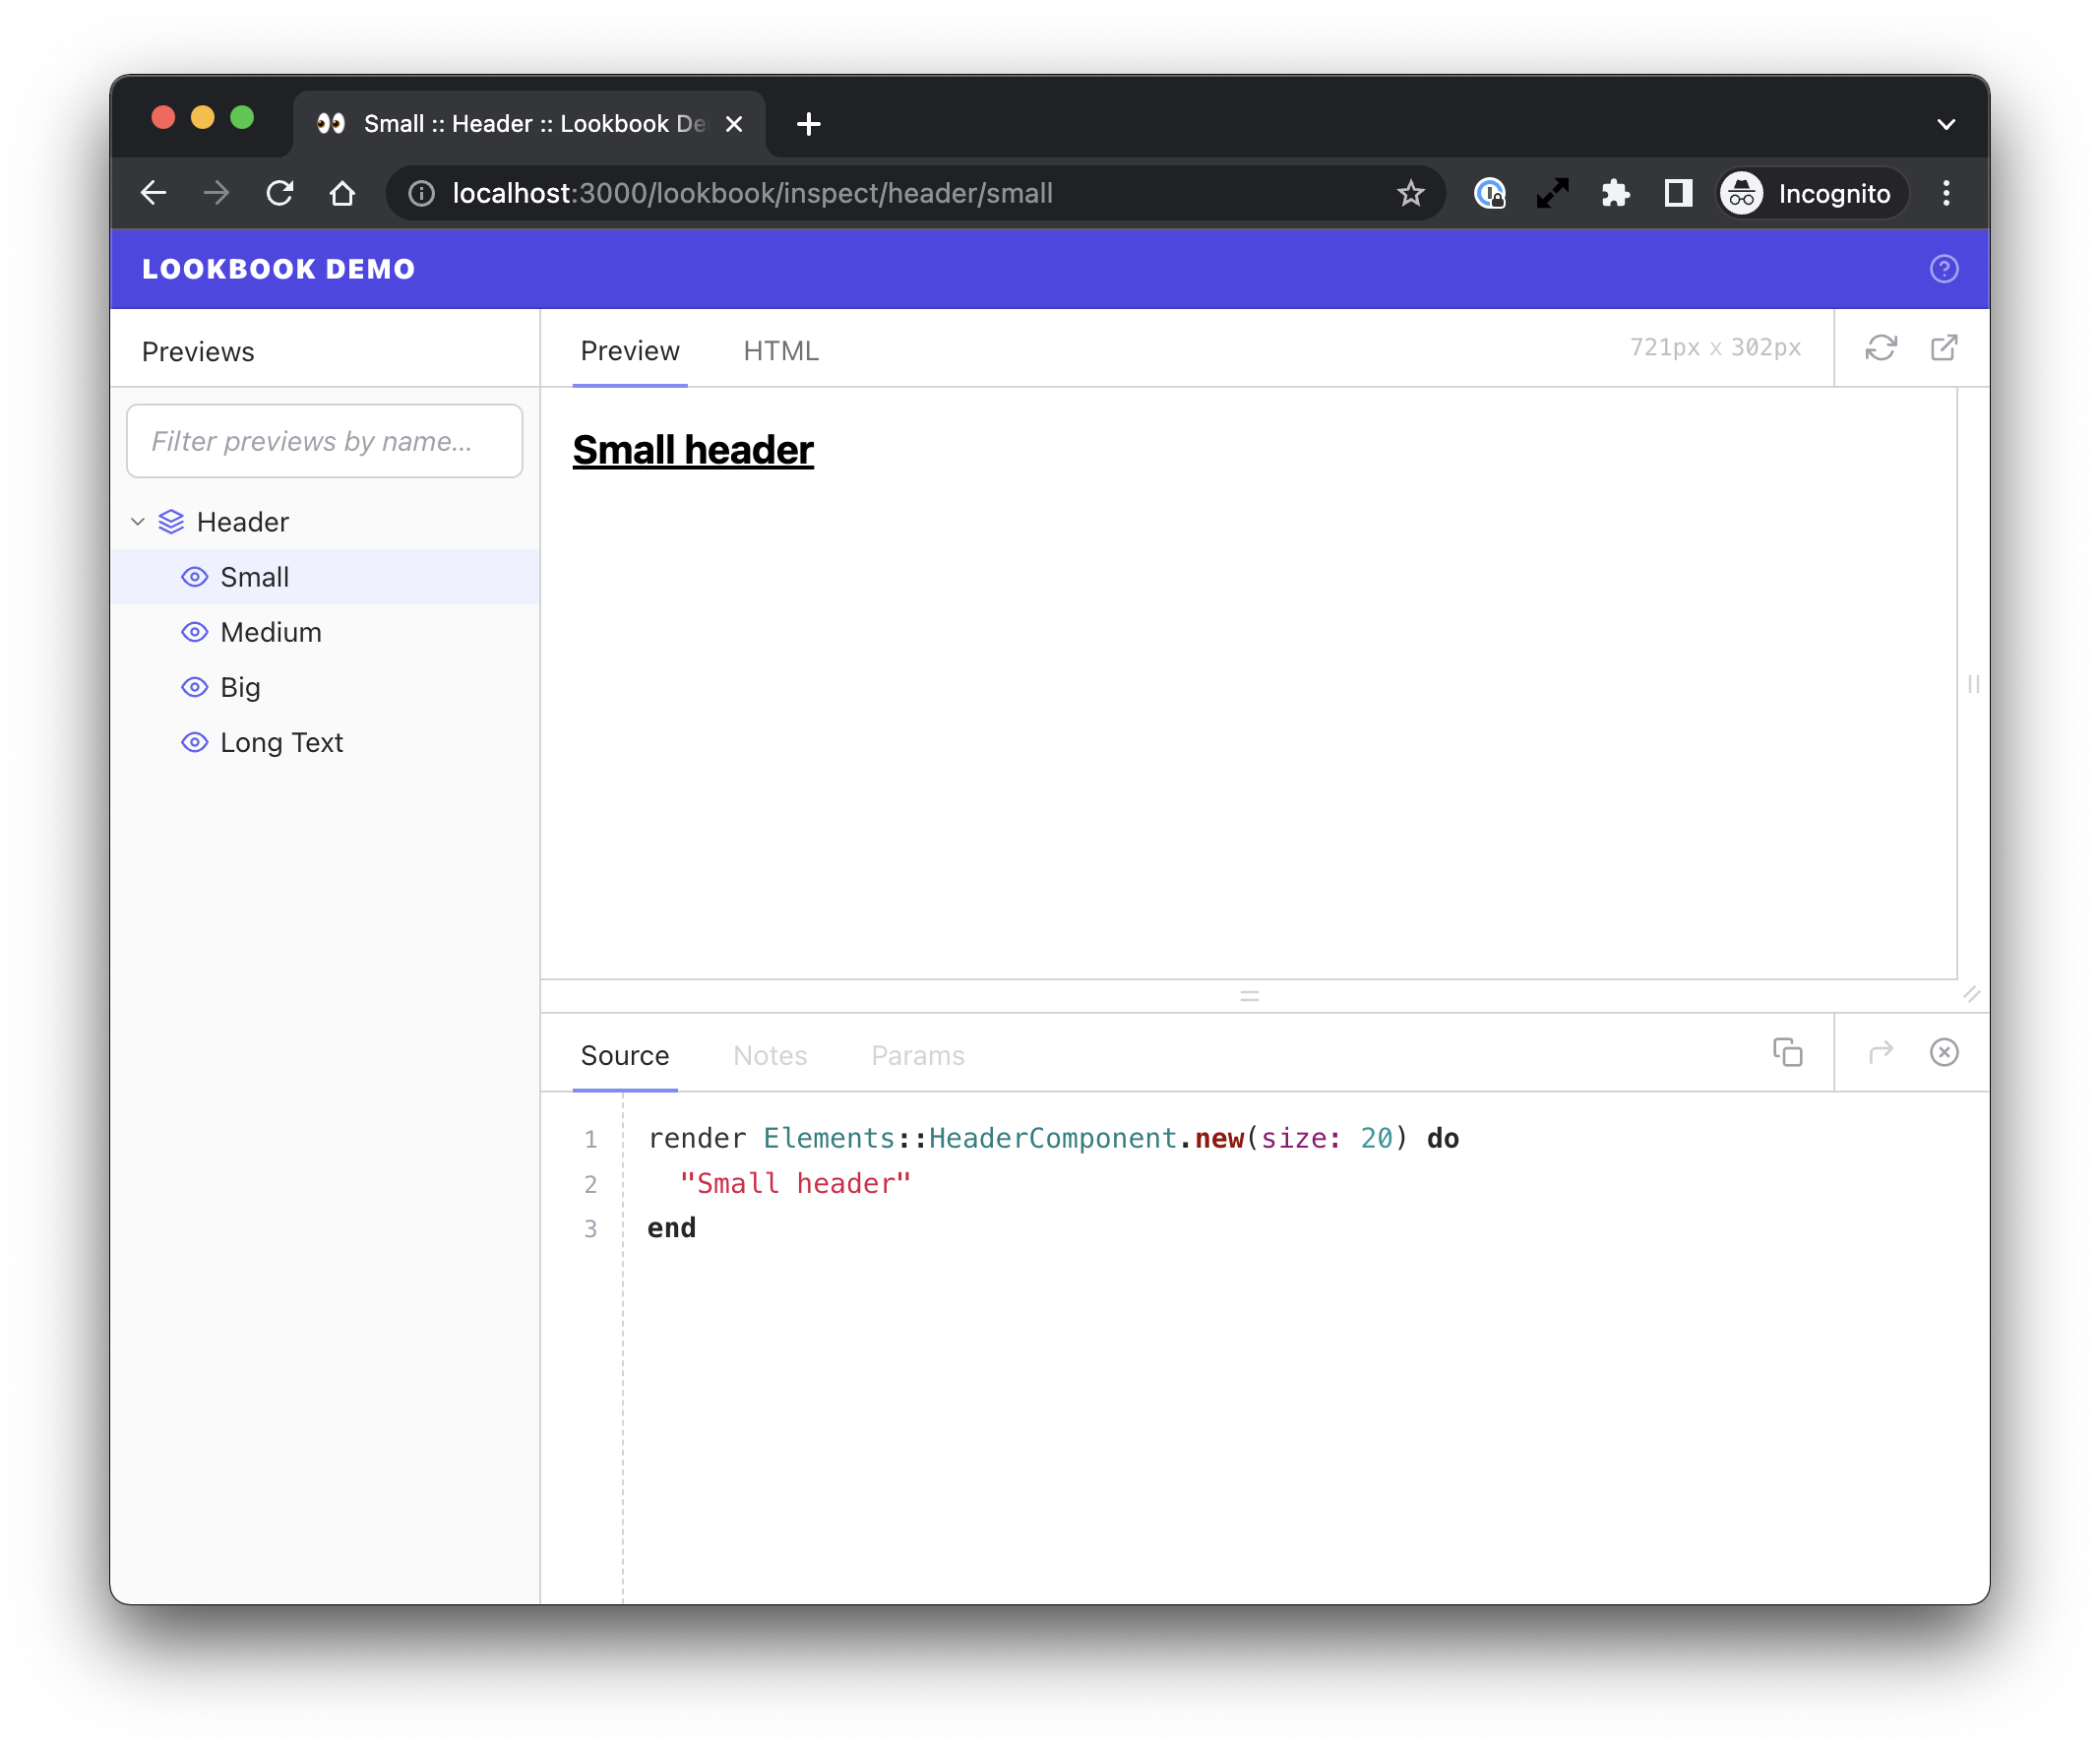
The following Header component preview contains four examples:
class HeaderComponentPreview < ViewComponent::Preview
  def small
    render HeaderComponent.new(size: 20) do
      "Small header"
    end
  end

  def medium
    render HeaderComponent.new(size: 30) do
      "Medium header"
    end
  end

  def big
    render HeaderComponent.new(size: 44) do
      "Big header"
    end
  end

  def long_text
    render HeaderComponent.new do
      "This is a header with some long text within it that keeps on going on"
    end
  end
end
By default each of these examples will get its own navigation item and standalone preview:
However, in this example it’s not really necessary for each size-related example to have it’s own preview, and indeed it may be better to show them grouped together to better understand their relative sizes.
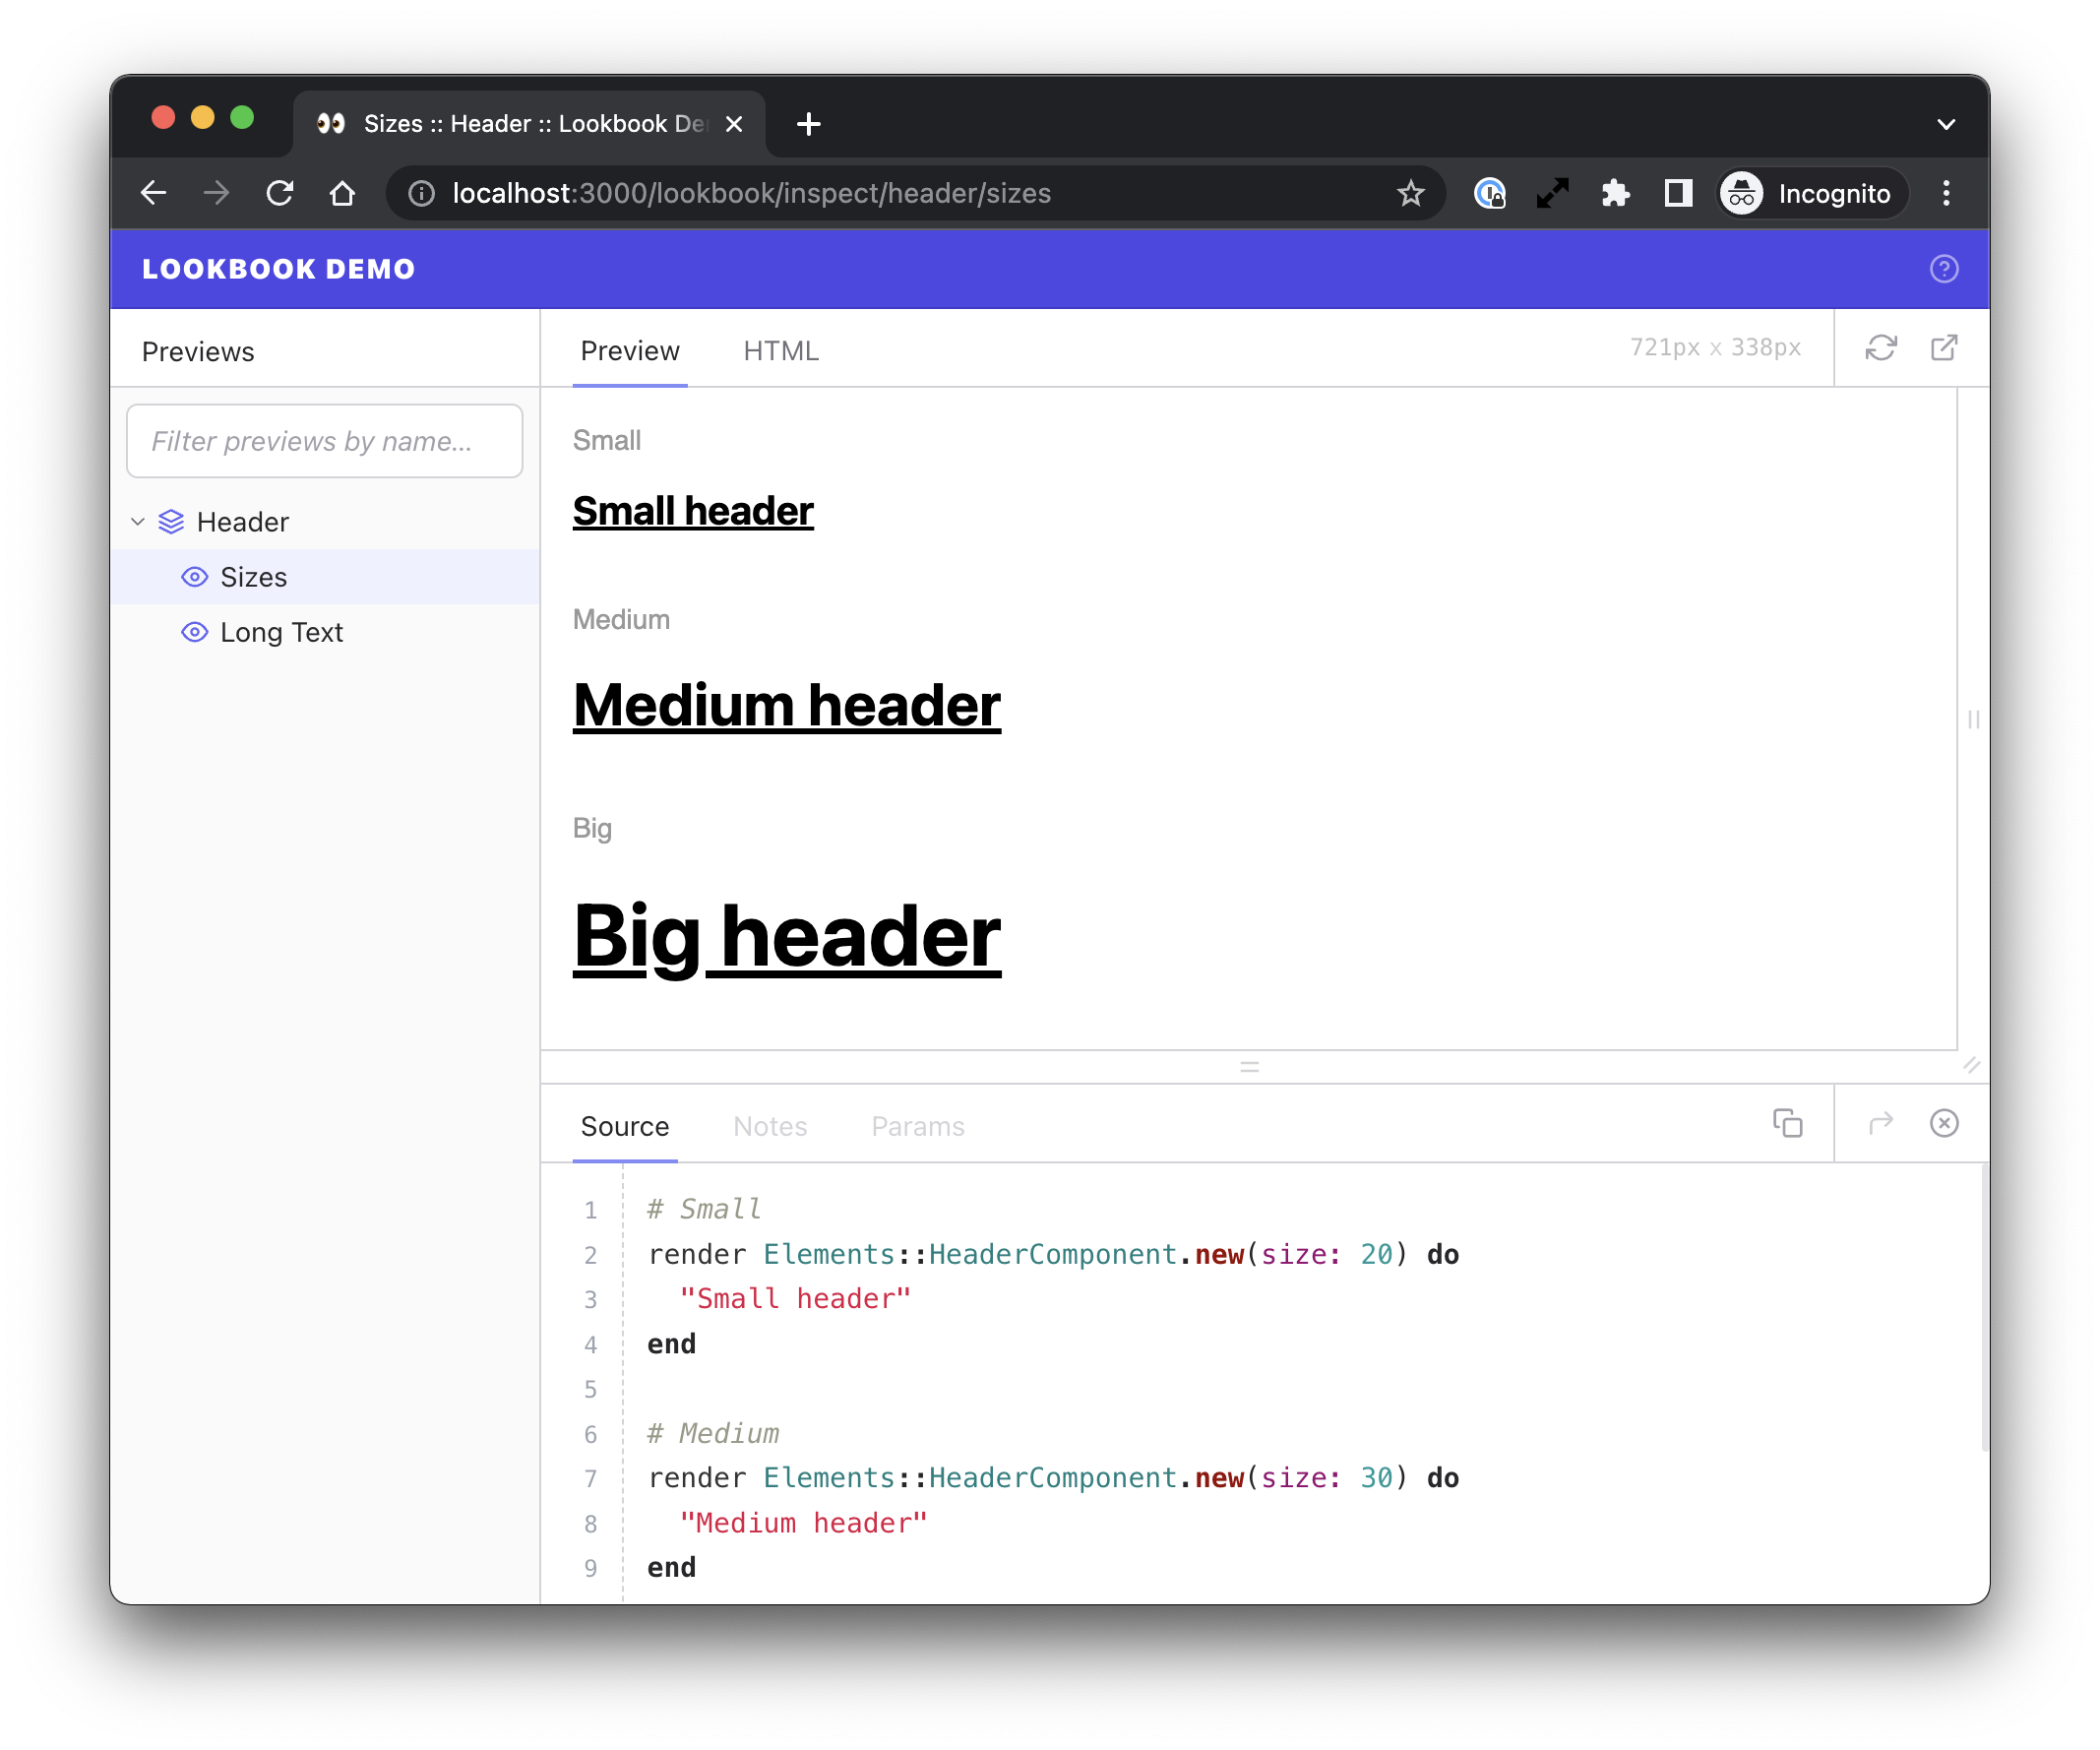
Using the @!group ... @!endgroup comment tags the ‘size’ examples can be grouped so that they are all rendered in a single preview:
class HeaderComponentPreview < ViewComponent::Preview
  # @!group Sizes

  def small
    render HeaderComponent.new(size: 20) do
      "Small header"
    end
  end

  def medium
    render :HeaderComponent.new(size: 30) do
      "Medium header"
    end
  end

  def big
    render HeaderComponent.new(size: 44) do
      "Big header"
    end
  end

  # @!endgroup

  def long_text
    render HeaderComponent.new do
      "This is a header with some long text within it that keeps on going on"
    end
  end
end
The three size-related examples are now rendered together, while the example that was not included in the group still has its own navigation item and standalone preview:
Adding groups
As shown in the example above, example methods are grouped within a preview class by adding a @!group comment tag above the first example in the group, and an @!endgroup tag after the last example.
You can specify an optional label for the group (for use in the nav) - if this is omitted the name of the first example in the group will be used to generate the label.
@!group <label>
class ExampleComponentPreview < ViewComponent::Preview
  # @!group Some Nice Examples

  def first_example
    # ...
  end

  def second_example
    # ...
  end

  # @!endgroup
end
Multiple groups
You can have as many groups as you like within a single preview class, but each example can only belong to one group.
class ExampleComponentPreview < ViewComponent::Preview
  # @!group First Group

  def first_example
    # ...
  end

  def second_example
    # ...
  end

  # @!endgroup

  # @!group Second Group

  def third_example
    # ...
  end

  def fourth_example
    # ...
  end

  # @!endgroup

  def not_in_a_group
    # ...
  end
end
Grouping all examples
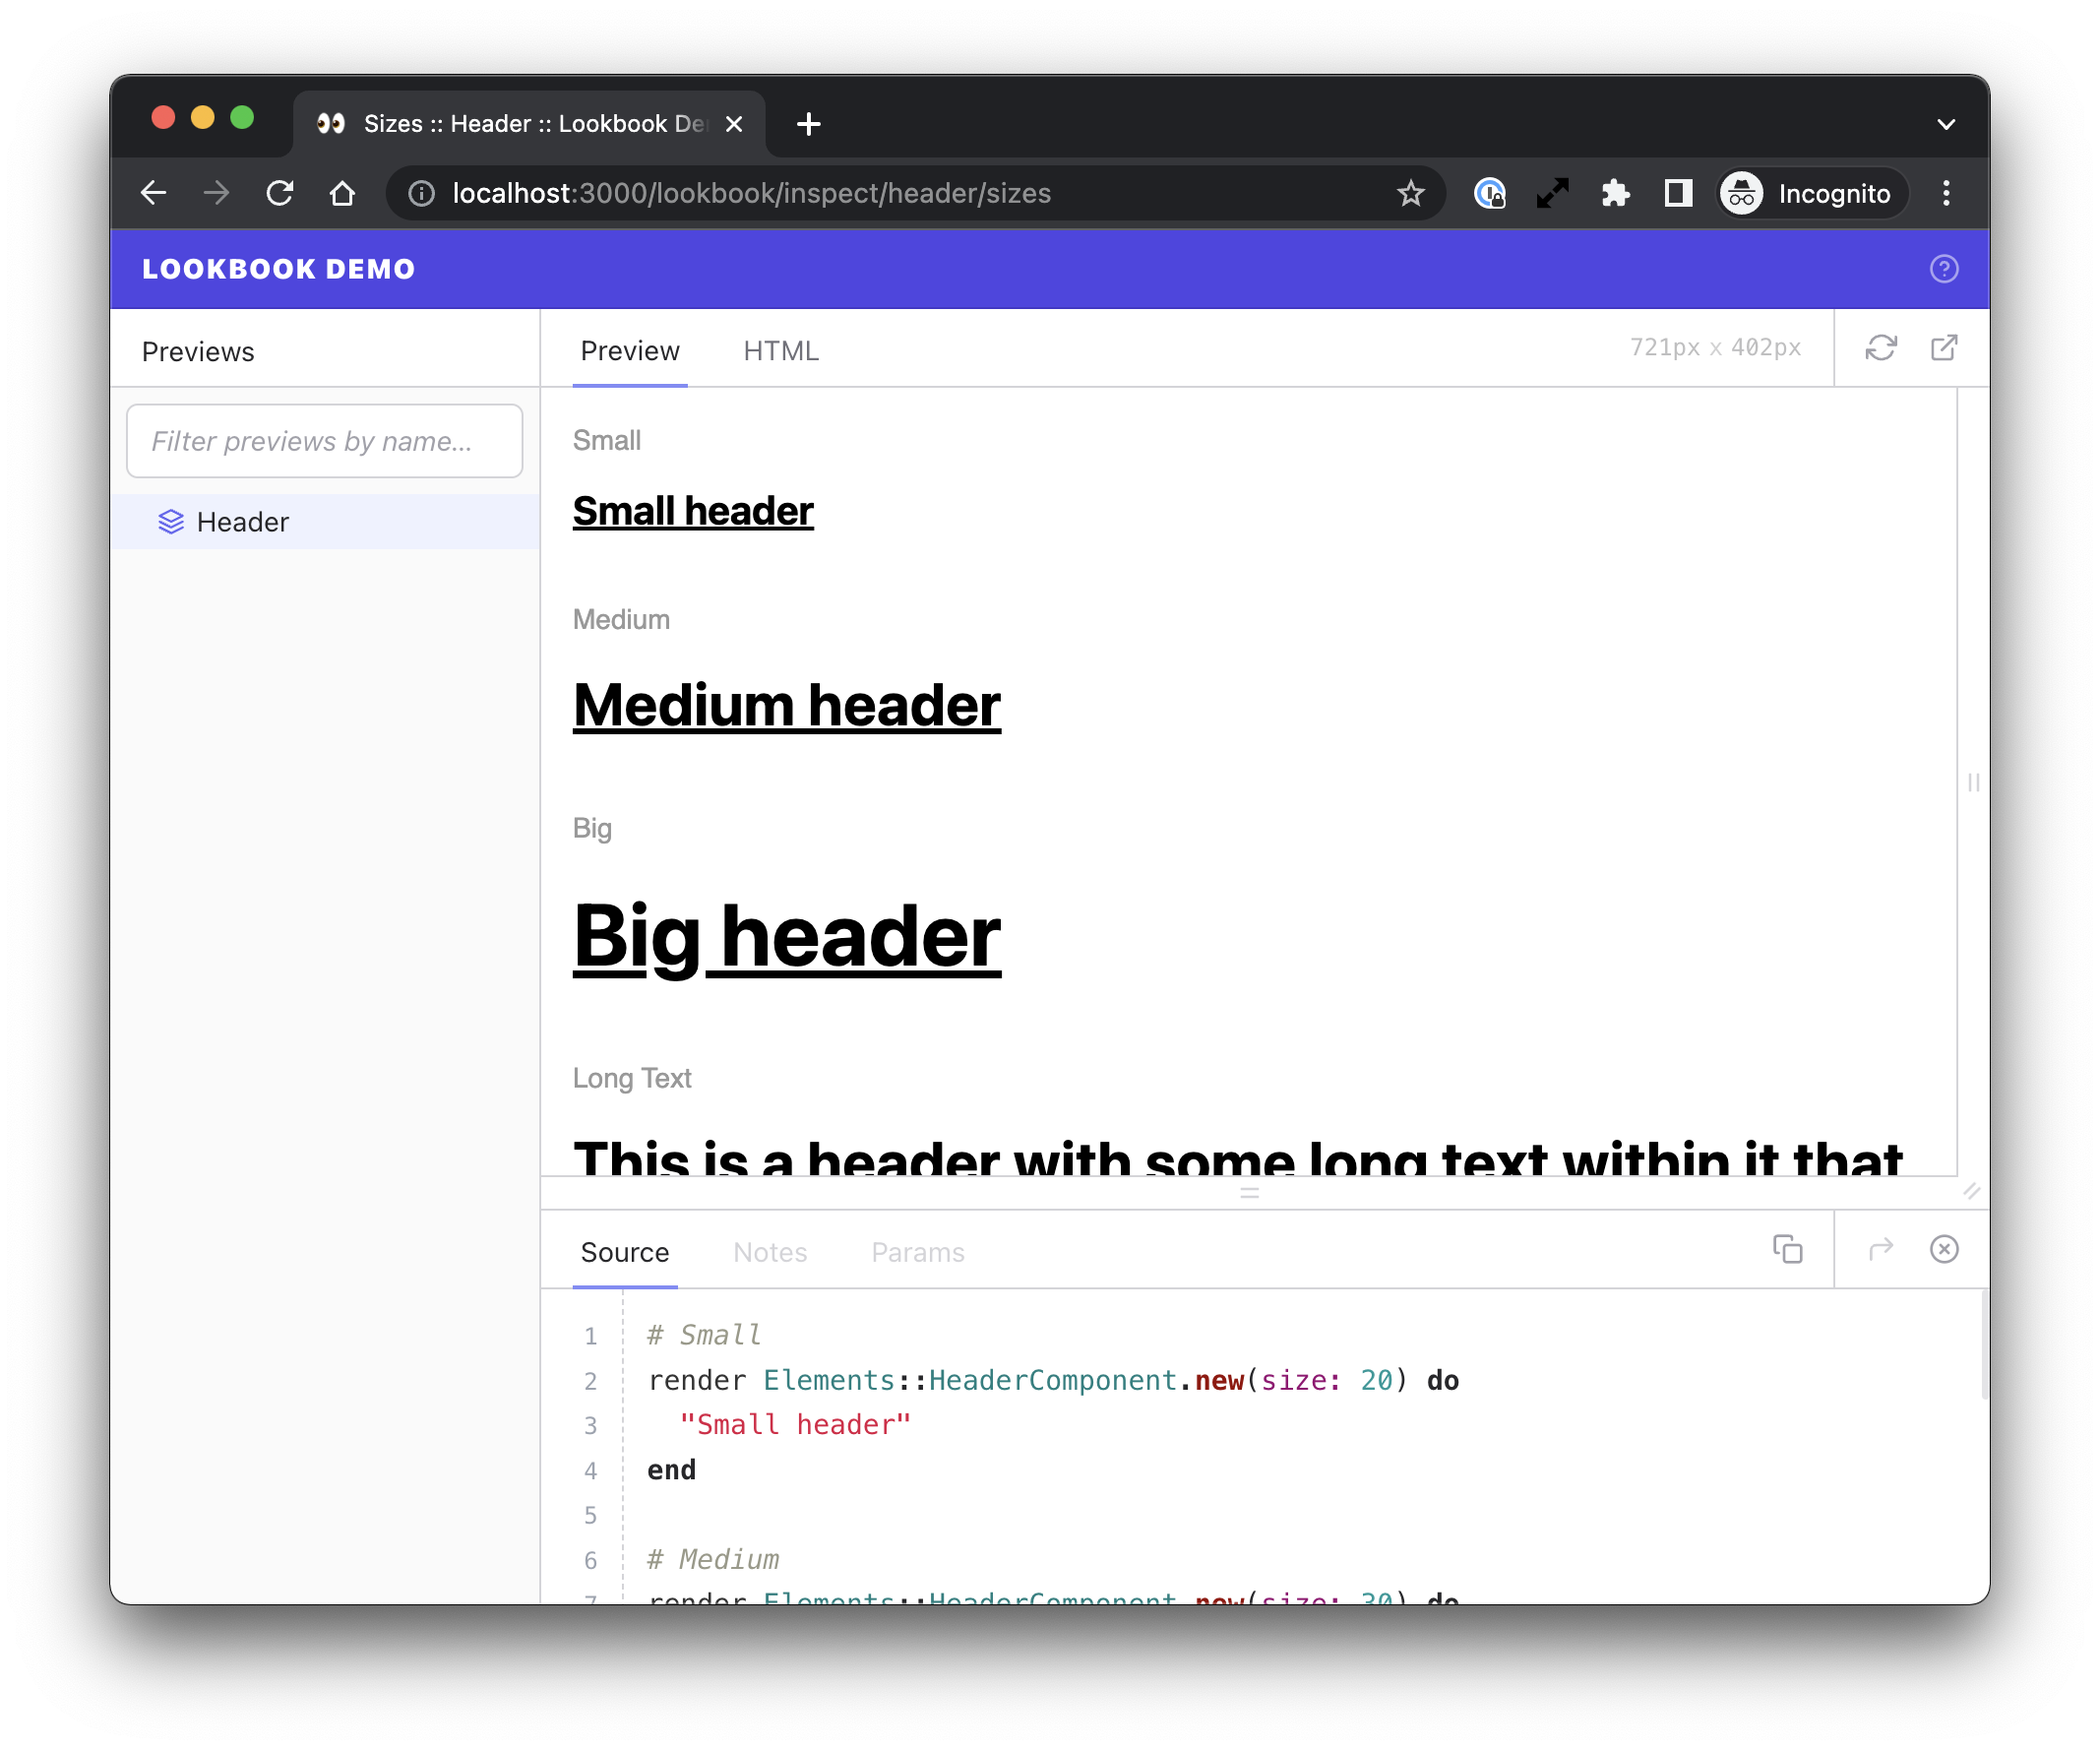
If all the example methods in a preview class are grouped into a single group, then the group itself will not show in the navigation, only the nav item representing the preview class. Clicking on this will display the grouped examples.
In this case, the group <label> (if specified) has no effect, but the preview label can still be customised via the @label tag
Customising group rendering
If you wish to customise the way that the grouped examples are displayed in the preview, you can override Lookbook’s default rendered output template.
To do so, create a new view template within your app at ./app/views/lookbook/preview.html.erb.
This is the template that will now be used to render all Lookbook previews (not just grouped ones!).
The default template looks as follows, and is worth using as a starting point:
<% if examples.many? %>
  <%# Render a group of examples %>
  <% examples.each do |example| %>
    <div style="all: unset; margin-bottom: 30px; display: block;">
      <h6 style="all: unset; display: block; color: #999; font-family: sans-serif; font-size: 14px; margin-top: 0; margin-bottom: 10px;">
        <%= example.label %>
      </h6>
      <%= example.output %>
    </div>
  <% end %>
<% else %>
  <%# Render a single example %>
  <%= examples.first.output %>
<% end %>
As you can see it needs to handle both the case where a single example is being rendered, and the case when multiple (i.e. grouped) examples are being rendered together.
This will be rendered in the context of your own application/preview layout so you are free to use any CSS styles or classes that your app provides, rather than the inline styles in the default template contents.