Quick Start
It’s quick and easy to get up and running with Lookbook. Follow this guide to get up and running quickly and then explore the rest of the docs to dive in deeper.
If you are already using Lookbook in your project then head over to the upgrade guide instead for details on how to update to the latest version.
Install Lookbook
Add Lookbook to your Gemfile somewhere after the ViewComponent gem:
gem "view_component"
gem "lookbook"
and then bundle install to install Lookbook.
Next mount the Lookbook engine (at a path of your choosing) in your routes file:
Rails.application.routes.draw do
  if Rails.env.development?
    mount Lookbook::Engine, at: "/lookbook"
  end
end
Add a component and preview
You can skip this step if you are installing Lookbook into a project with existing components.
For the purposes of this guide we’ll use the ViewComponent generator to create an example component with a corresponding preview file:
bin/rails generate component Example title --preview
This will generate an ExampleComponent class and corresponding template in app/components, and a ExampleComponentPreview preview class in test/components/previews.
Open the preview in the Lookbook UI
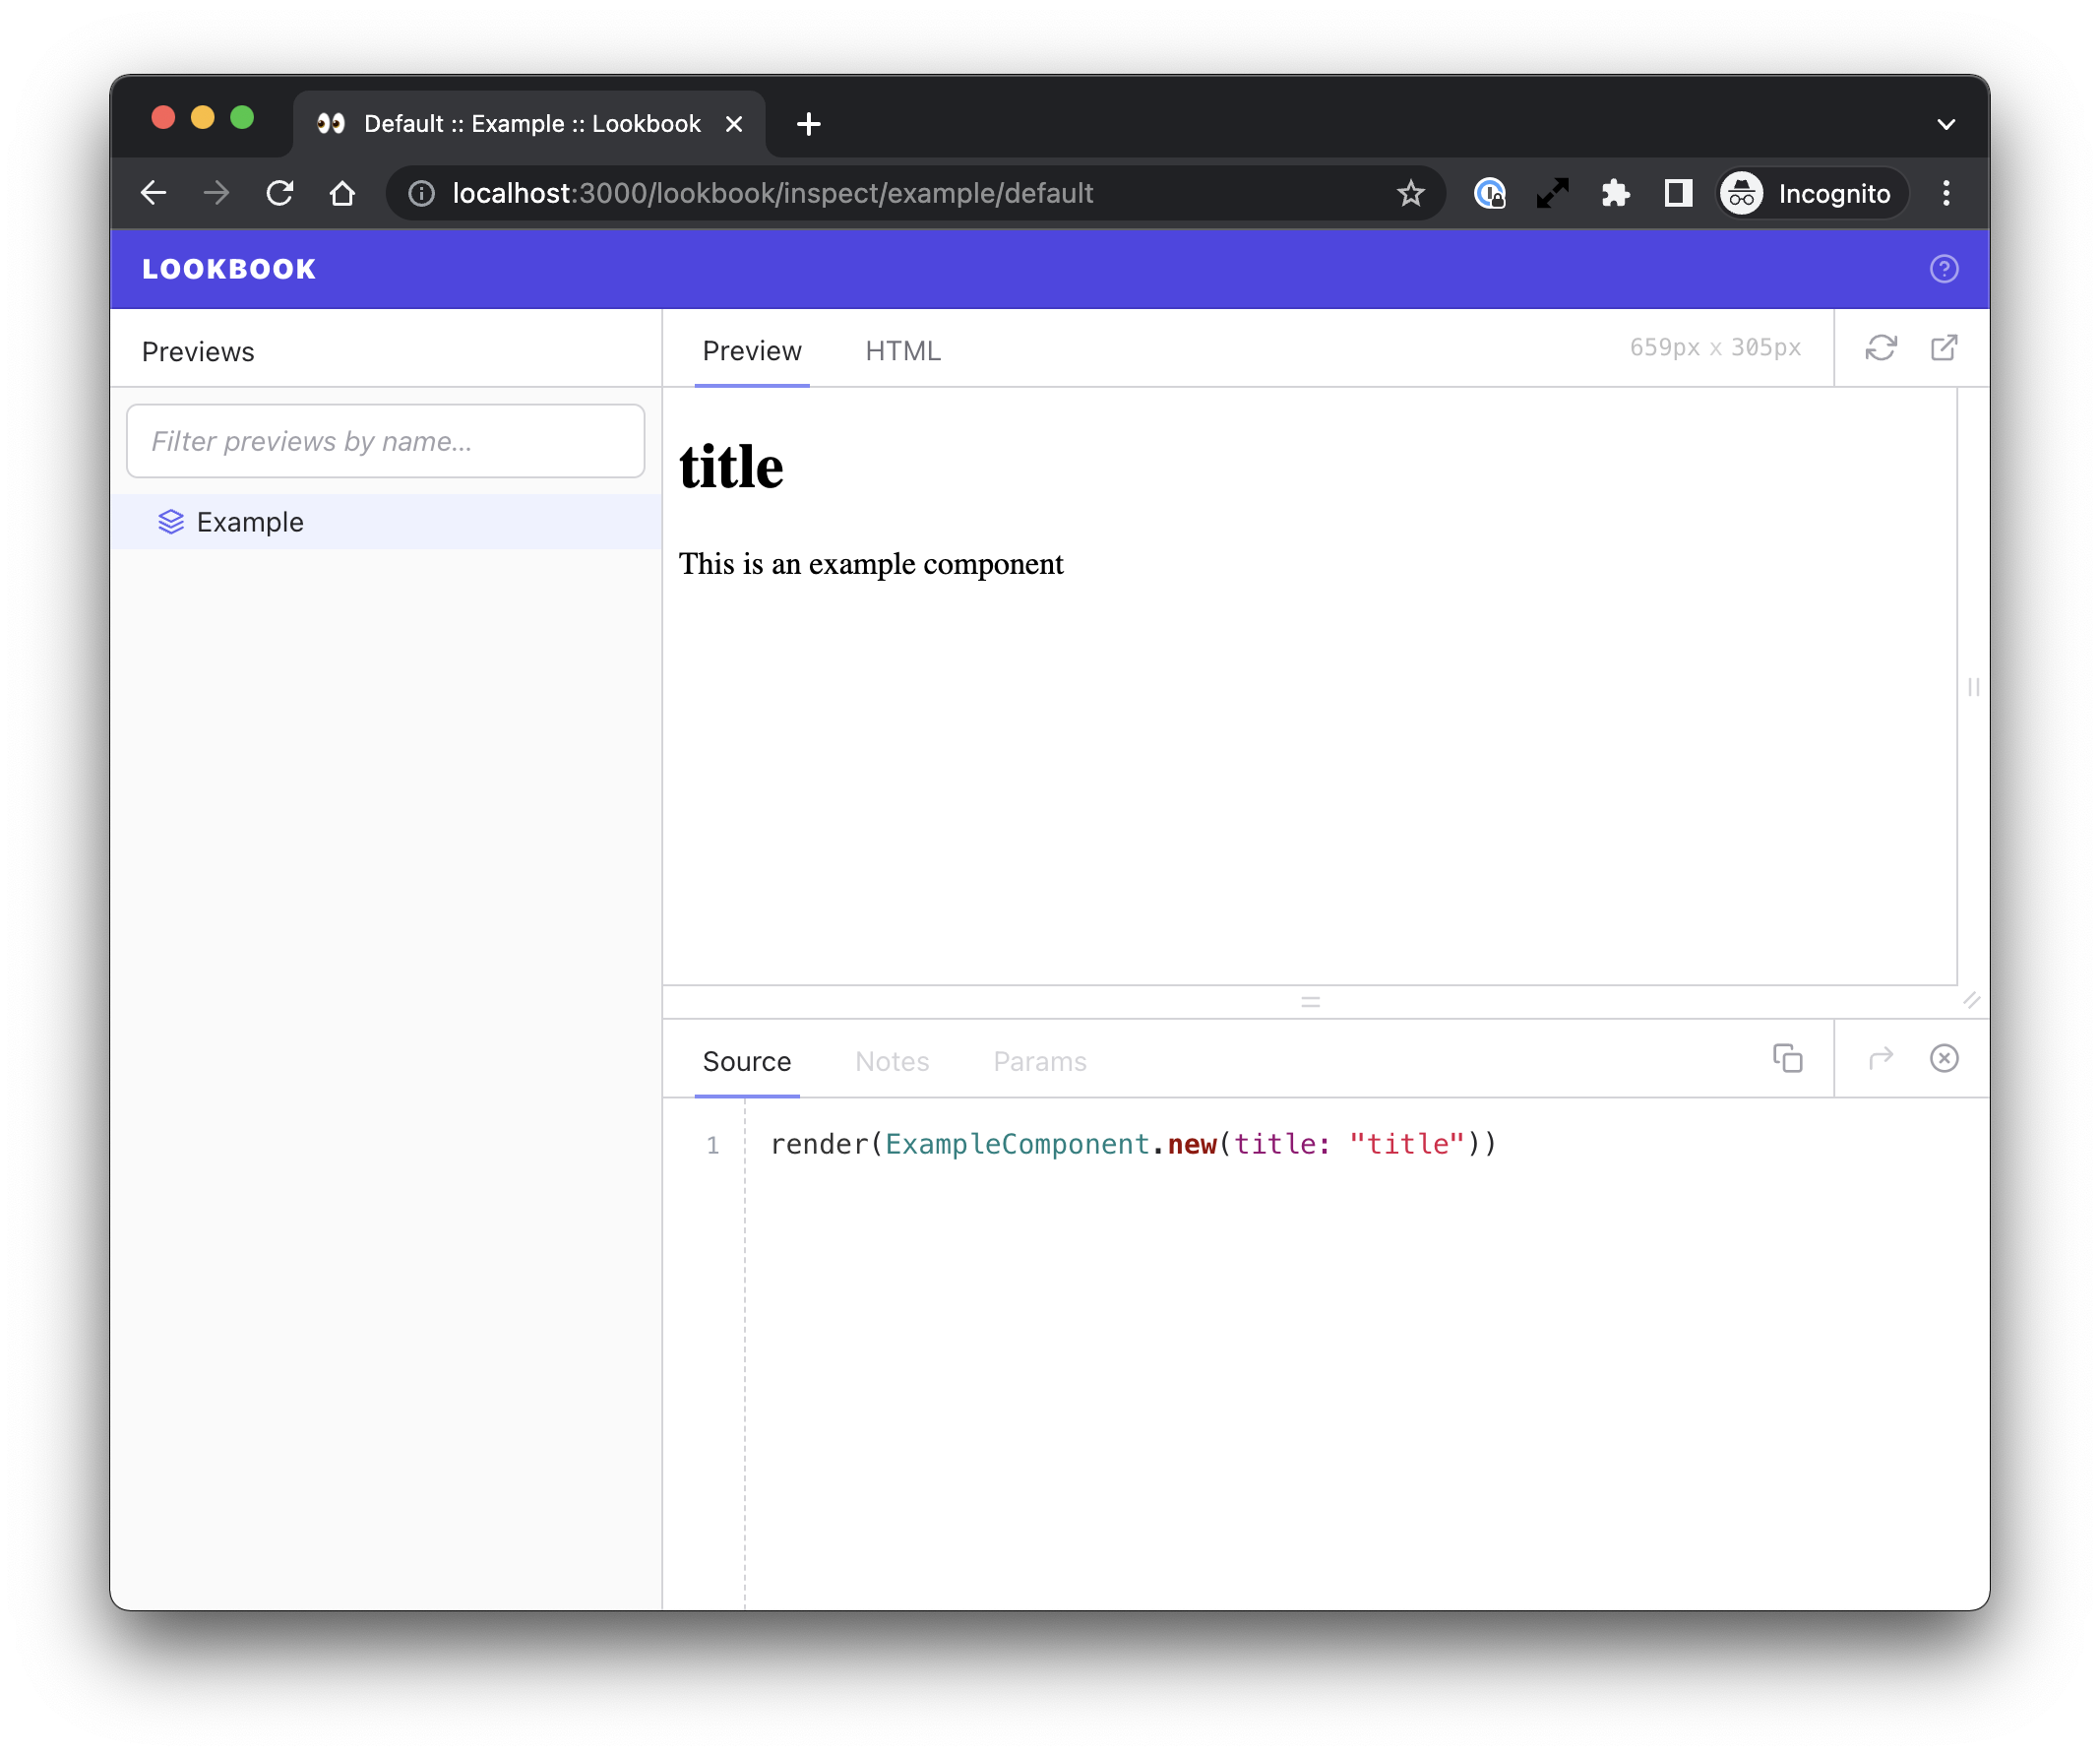
Start the server (if it isn’t already running), point your browser to http://localhost:3000/lookbook and click on the Example component link in the sidebar on the left.
You will see the component preview in the Lookbook UI. It’s nothing much to look at yet but it’s a good start!

Making changes
Now let’s make some changes to the component files created by the generator.
Edit the component template
Open up the component template file at app/components/example_component.html.erb. The contents will look like this:
<div>Add Example template here</div>
Edit the content of this template to make use of the title property that is passed into the component:
<div>
  <h1><%= @title %></h1>
  <p>This is an example component</p>
</div>
Once the changes are saved you’ll instantly be able to see the changes reflected in the Lookbook UI:
Any changes to component template files, component class files or preview class files will cause the preview to re-render in the UI.
Edit the component preview
Now open the example component preview file at test/components/previews/example_component_preview.rb. The contents will look like this:
class ExampleComponentPreview < ViewComponent::Preview
  def default
    render(ExampleComponent.new(title: "title"))
  end
end
Make a change to the default preview example method to pass in a better title, and create another example method with a longer title for testing purposes.
class ExampleComponentPreview < ViewComponent::Preview
  def default
    render(ExampleComponent.new(title: "A regular title"))
  end

  def long_title
    render(ExampleComponent.new(title: "This is a really long title that we are testing with"))
  end
end
If you switch back to Lookbook you will see that the Example nav item in the sidebar now has two items nested below it, one for each example method.
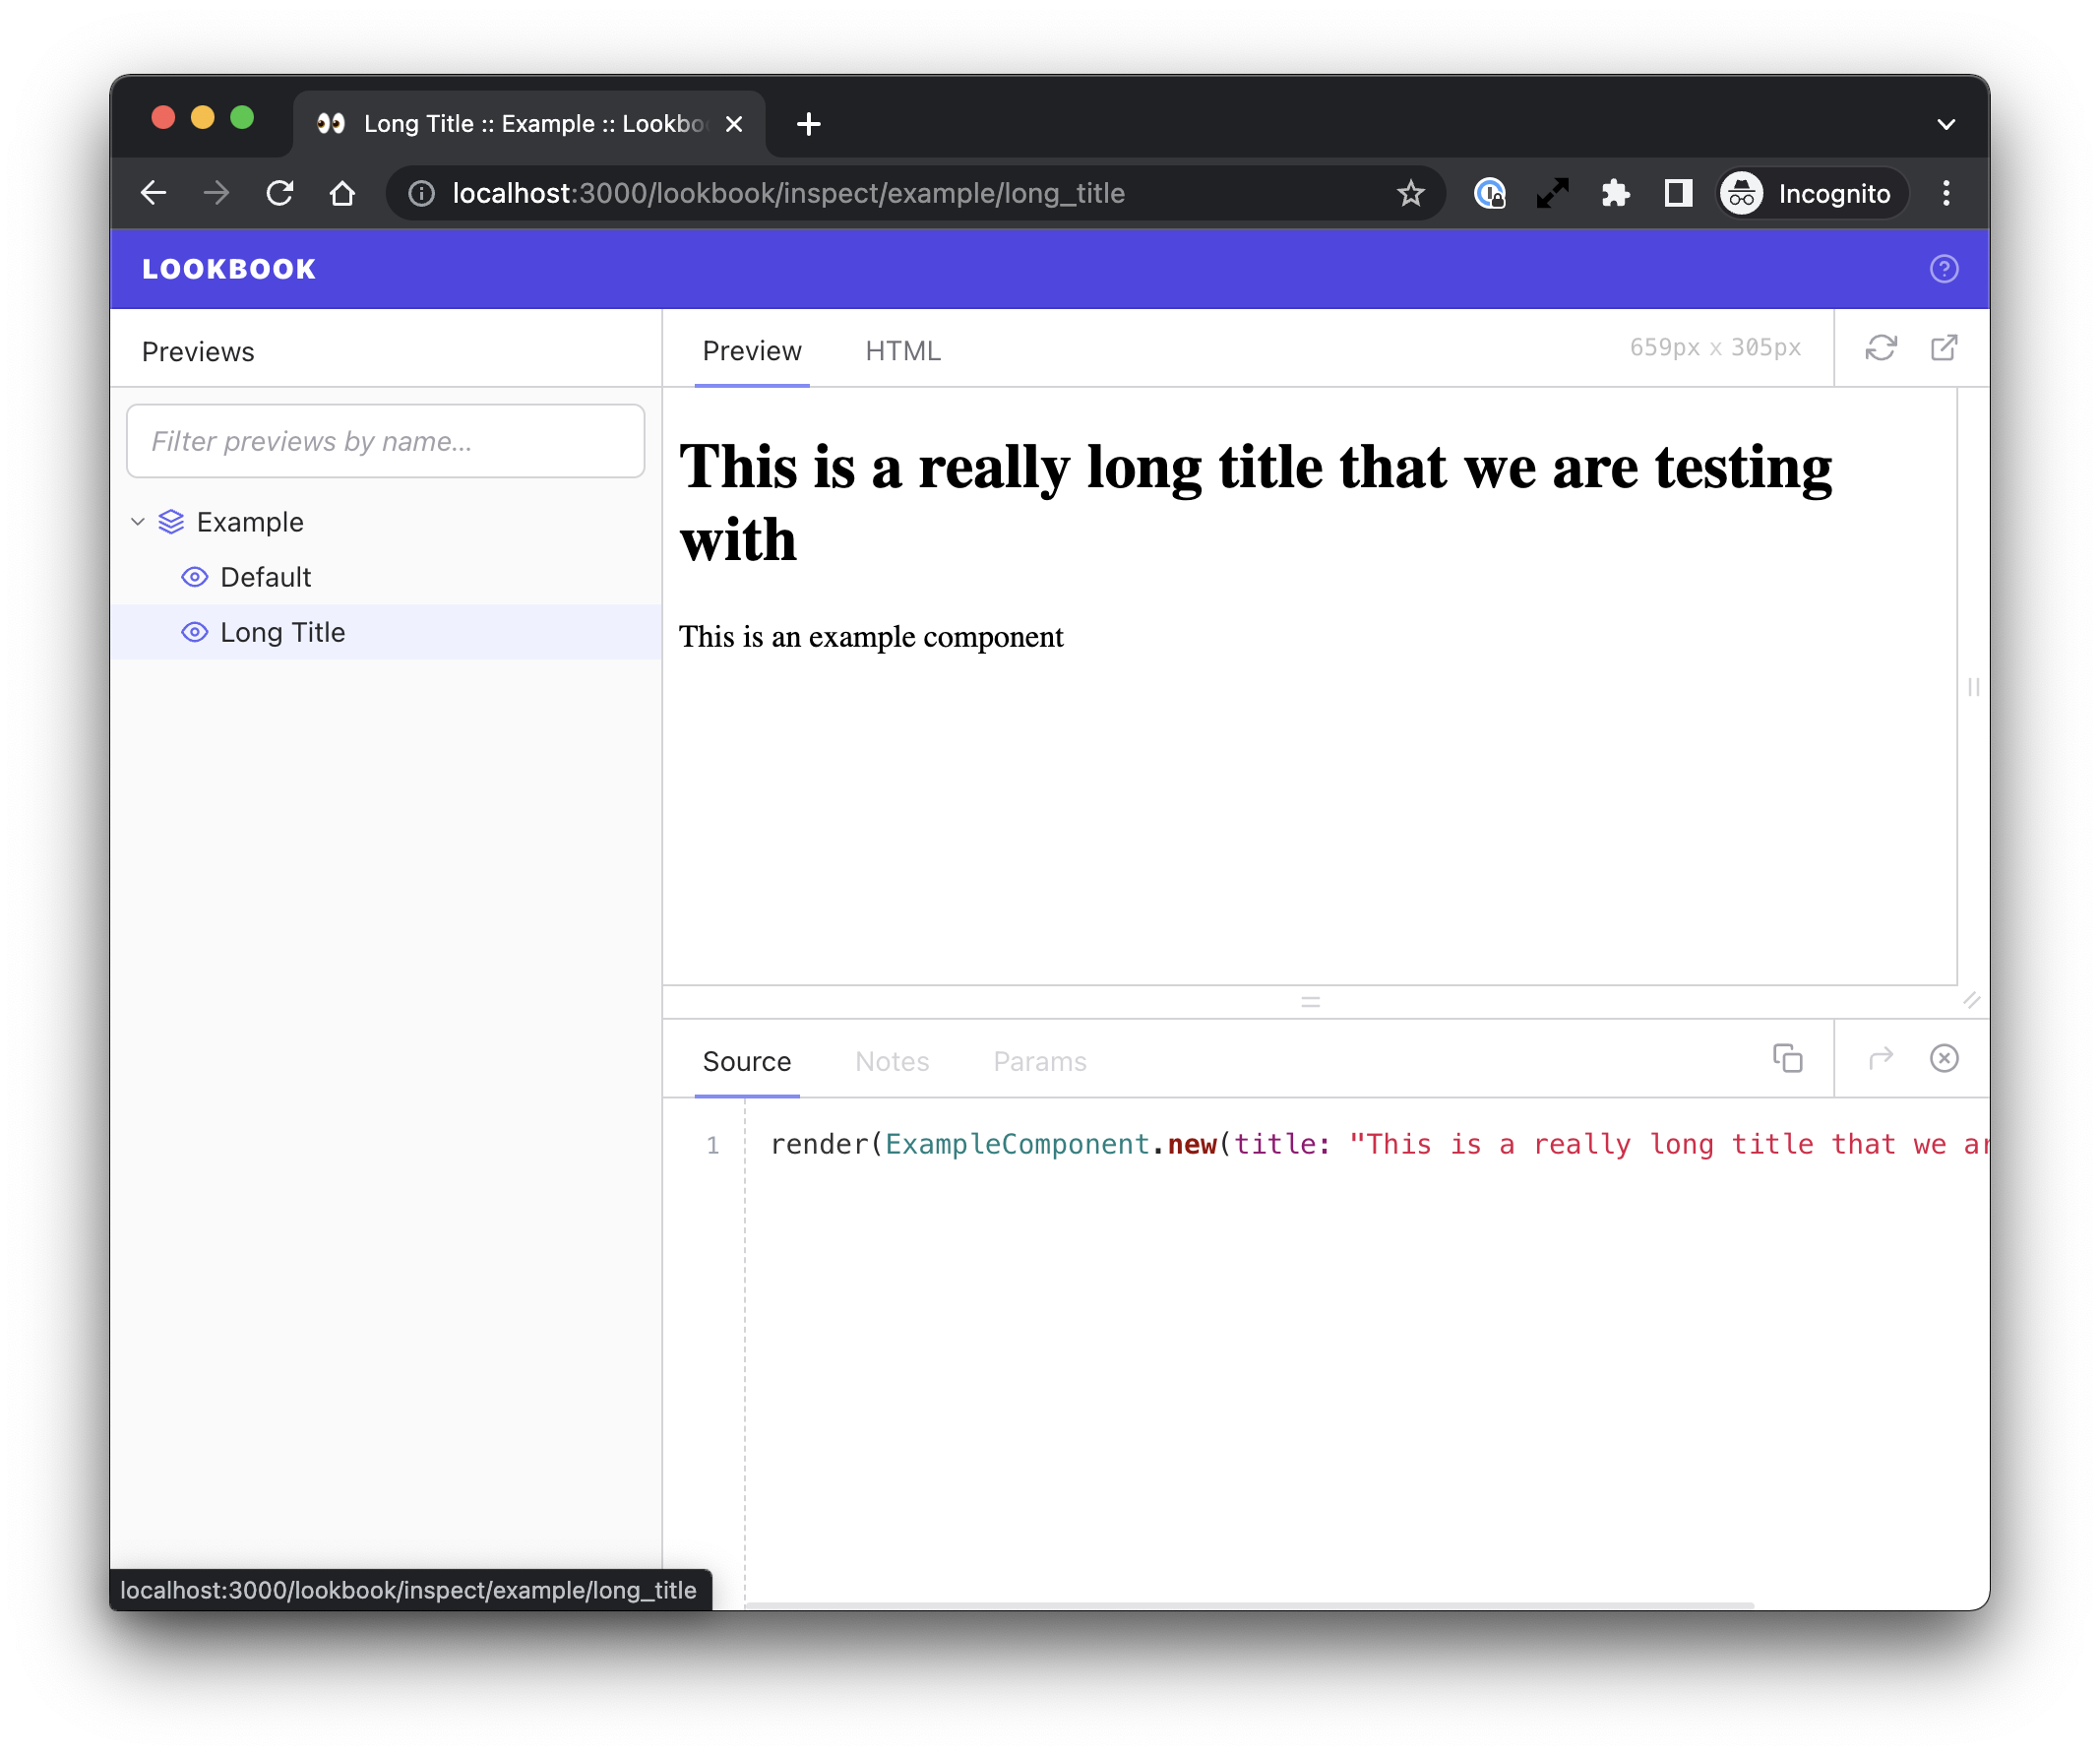
You can create as many example methods as you like in order to showcase all the different possible states of your component.
Dive deeper…
Now that you have a component preview to experiment with you can dig into the preview docs to learn more about adding annotations, using preview layouts, grouping examples and more.